how to instal a GREEN BACKGROUND
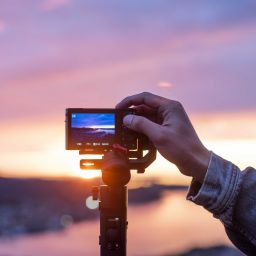
Probably one of the most common techniques of cinema, which will save a lot of budgets and create a spectacular scene. Yes, it’s shooting against a green or blue background. These shades are used because they’re the least on human skin and hair.
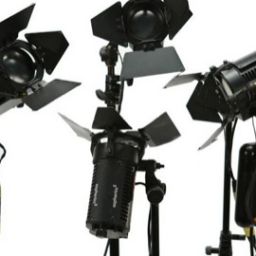
After stretching and straightening the background should be evenly illuminated, without lighting and shadows. Position the object at a distance of at least 2 meters to eliminate unwanted shadows and illuminate the back. This illumination is obligatory because in the future we will separate the object from the background and without illumination, it will be almost impossible to achieve the desired result.
Scribble the object so that it does not go beyond the frame, otherwise, the body parts will be cut off, and we do not need this. After shooting, we’ll proceed to the editing…
CLEAN THE CHROMACKEY IN THE PROGRAM
This is where the most magical begins. Using Adobe After Effects as an example, we will show you how to remove the background. Import the video into the program and drag it onto the song icon. This way, we’ll get a song with the video source settings. Then we apply the key light filter by dragging it to the song. Using a pipette, click the area with the colour to be removed. Basically, the filter did pretty well, but if you jump on the timeline, we see a little garbage that needs to be cleaned.
To improve the glue, we switch from final result to screen matte. Now we see a clearer picture: black is what will be removed, white is what will remain and grey is a semi-transparent area that will be partially visible, they need to be edited. Screen gain will remove unwanted areas on black, but be careful not to overdo it.
Looking further through the timeline, we see grey areas on the site. We will remove them using the clip white settings on the screen matte tab. We go back to the final result and look at our final result. We can still see the black outline of the object, which gives us a black outline. To fix it, let’s change the settings of Screen shrink/grow. There are still areas along the edges that need to be cut off. To do this, we will use the pen tool (Pen).
All that is left to do is to put the background and scale it. The project is ready!